
In the world of home gardening, there’s a small but mighty player that’s been gaining popularity in recent years: microgreens. These tiny, nutrient-packed plants are easy to grow, delicious to eat, and can add a pop of color to any dish. But what exactly are microgreens, and why should you consider growing them at home?
Microgreens are the young seedlings of edible vegetables and herbs that are harvested less than a month after germination. They’re smaller than baby greens and bigger than sprouts, and they pack a powerful punch when it comes to nutrition. In fact, studies have shown that microgreens can contain up to 40 times more nutrients than their mature counterparts!
Growing your own microgreens at home is a fun, rewarding, and cost-effective way to enhance your diet. Plus, it’s a great way to garden year-round, regardless of the weather outside. In this comprehensive guide, we’ll walk you through everything you need to know about growing your own microgreens, from the materials you’ll need to the step-by-step process, common problems and solutions, and even how to incorporate them into your meals.
So, whether you’re a seasoned gardener looking for a new challenge or a complete beginner wanting to dip your toes into the world of home gardening, this guide is for you. Let’s dive in and start our journey to growing and enjoying our very own microgreens!
What Are Microgreens?
Microgreens are young vegetable greens that are approximately 1–3 inches tall. They have an aromatic flavor and concentrated nutrient content and come in a variety of colors and textures. Microgreens are not a specific kind of plant — they can come from many different species. The common feature among all microgreens is that they are tiny, young, and packed full of flavor and nutrition.
Microgreens are the seedlings of vegetables and herbs. They are harvested when the plant is no longer a sprout, but not yet a full-grown plant — usually when it’s about two weeks old. At this stage, the plant has produced its first set of true leaves, known as cotyledon leaves, and may have started to produce its second set, known as true leaves.
There are dozens of types of microgreens to choose from, each with its own unique taste and nutritional profile. Some of the most popular types include:
- Radish Microgreens: These have a spicy, peppery flavor and are rich in vitamins A, B, C, E, and K.
- Broccoli Microgreens: These have a mild, slightly bitter flavor and are packed with vitamins A, C, and E, calcium, iron, and phosphorus.
- Kale Microgreens: These have a sweet, nutty flavor and are high in vitamins K, C, and E, beta-carotenes, and antioxidants.
- Pea Shoot Microgreens: These have a sweet, slightly nutty flavor and are a great source of vitamins A, C, and folic acid.
Microgreens and Care Instructions
| Microgreen Type | Scientific Name | Description | Light Requirements | Temperature Range | Watering | Harvest Time | Growth Duration | Soil Type |
|---|---|---|---|---|---|---|---|---|
| Arugula | Eruca vesicaria | Peppery and slightly bitter flavor. | Bright indirect light. | 60-70°F (15-21°C) | Mist regularly to keep soil moist. | 7-14 days | 20-30 days | Soilless or potting mix. |
| Beet | Beta vulgaris | Earthy flavor with a hint of sweetness. | Bright indirect light. | 60-75°F (15-24°C) | Keep soil evenly moist. | 10-14 days | 20-30 days | Soilless or potting mix. |
| Broccoli | Brassica oleracea italica | Mild, slightly bitter taste. | Bright indirect light. | 60-75°F (15-24°C) | Keep soil evenly moist. | 7-14 days | 10-14 days | Soilless or potting mix. |
| Cabbage | Brassica oleracea capitata | Mild, slightly sweet flavor. | Bright indirect light. | 60-75°F (15-24°C) | Keep soil evenly moist. | 7-14 days | 10-14 days | Soilless or potting mix. |
| Cilantro | Coriandrum sativum | Fresh, citrusy flavor. | Bright indirect light. | 60-75°F (15-24°C) | Mist regularly to keep soil moist. | 7-14 days | 10-14 days | Soilless or potting mix. |
| Kale | Brassica oleracea acephala | Earthy, slightly bitter taste. | Bright indirect light. | 60-75°F (15-24°C) | Keep soil evenly moist. | 7-14 days | 10-14 days | Soilless or potting mix. |
| Radish | Raphanus sativus | Spicy, peppery flavor. | Bright indirect light. | 60-75°F (15-24°C) | Keep soil evenly moist. | 5-7 days | 7-14 days | Soilless or potting mix. |
| Sunflower | Helianthus annuus | Nutty, crunchy taste. | Bright indirect light. | 65-75°F (18-24°C) | Keep soil evenly moist. | 7-14 days | 7-14 days | Soilless or potting mix. |
| Pea | Pisum sativum | Sweet, delicate flavor. | Bright indirect light. | 60-75°F (15-24°C) | Keep soil evenly moist. | 7-14 days | 10-14 days | Soilless or potting mix. |
| Mustard | Brassica juncea | Spicy, peppery taste. | Bright indirect light. | 60-75°F (15-24°C) | Mist regularly to keep soil moist. | 7-14 days | 10-14 days | Soilless or potting mix. |
Growing microgreens at home allows you to experiment with a variety of these types, finding your favorites and discovering new ones. In the next section, we’ll explore why growing microgreens at home is a fantastic idea.
Why Grow Microgreens at Home?
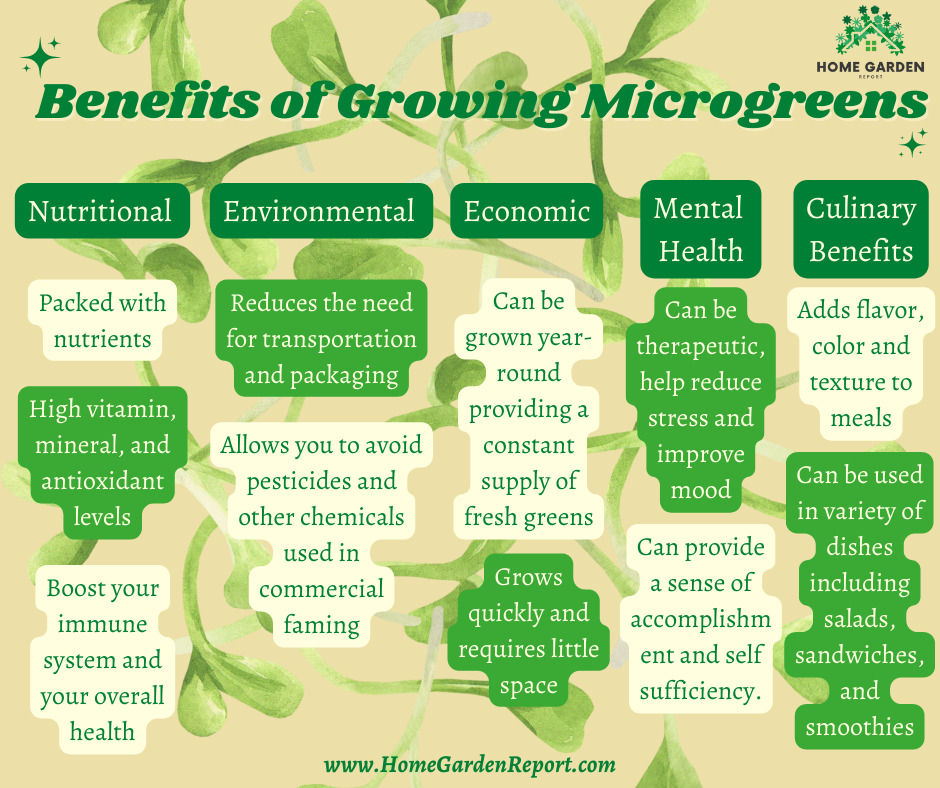
Growing your own microgreens at home has a multitude of benefits that extend beyond their nutritional value. Here are some reasons why you should consider starting your own microgreen garden:
1. Freshness and Flavor: When you grow your own microgreens, you can harvest them at peak freshness, ensuring that you get the most flavor and nutritional value out of them. Store-bought microgreens, on the other hand, may have been harvested days or even weeks ago, which can significantly reduce their flavor and nutritional content.
2. Cost-Effective: While microgreens can be quite expensive to buy at the store, they are surprisingly cheap to grow at home. A small investment in seeds and supplies can yield a continuous supply of fresh microgreens.
3. Easy and Quick to Grow: Microgreens don’t require a lot of space or special equipment to grow. They can be grown in a small container on a windowsill, and they’re ready to harvest in just 1-2 weeks. This makes them a great option for urban dwellers or those without a large garden.
4. Year-Round Gardening: Microgreens can be grown indoors at any time of the year, providing a fresh supply of greens even in the middle of winter.
5. Environmental Impact: Growing your own microgreens reduces the need for transportation and packaging associated with store-bought greens. This can help to reduce your carbon footprint.
6. Fun and Educational: Growing microgreens can be a fun and educational project for kids and adults alike. It’s a great way to learn about the life cycle of plants and the importance of healthy eating.
In the next section, we’ll go over everything you need to start growing your own microgreens at home, from the materials you’ll need to the step-by-step process.
Getting Started: What You Need to Grow Microgreens
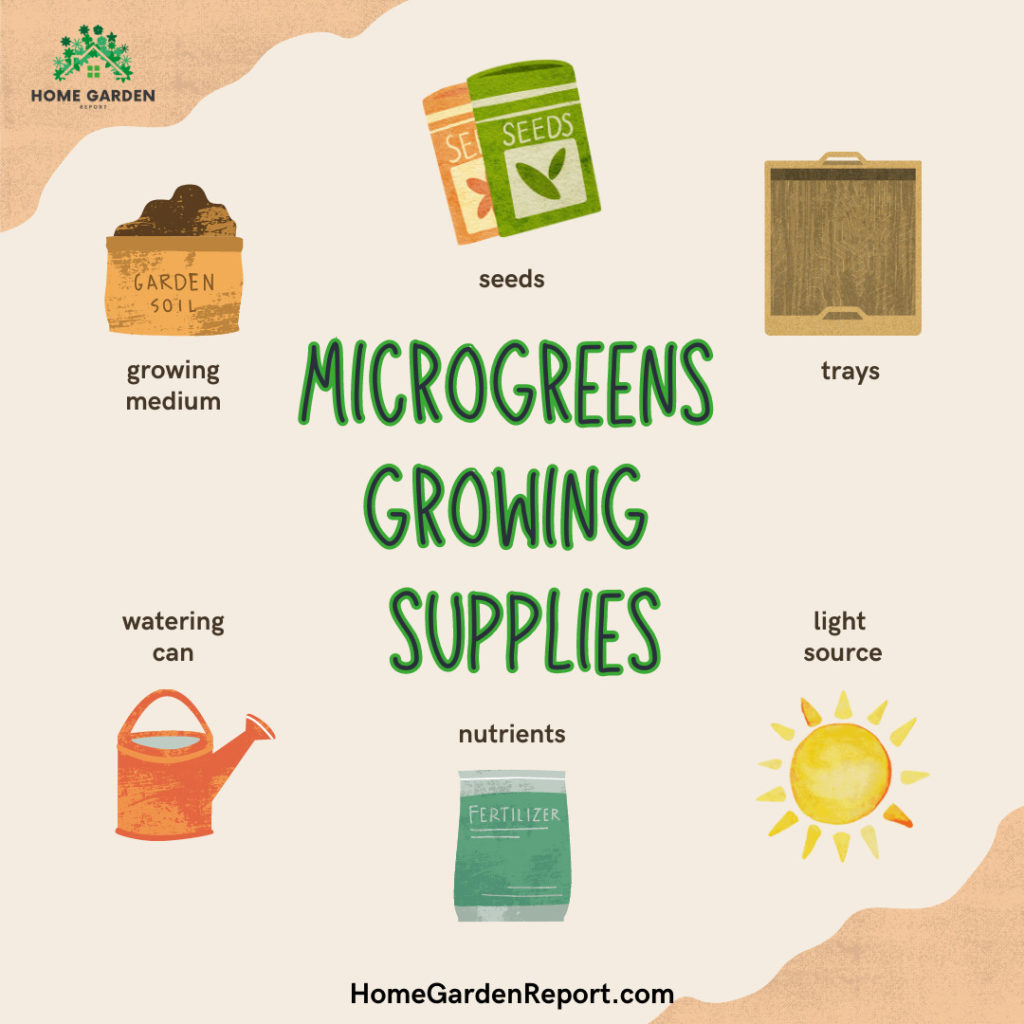
Growing microgreens at home is surprisingly simple and requires only a few basic supplies. Here’s what you’ll need to get started:
1. Seeds: The first thing you’ll need is microgreen seeds. You can find these online or at your local garden center. Some popular choices include radish, broccoli, kale, and pea shoots.

2. Growing Medium: Microgreens can be grown in a variety of mediums. Soil is the most common, but you can also use *coconut coir, *peat moss, or a *soilless mix .

* additional nutrients needed– To provide adequate nutrition when using coconut coir, peat moss, or a soilless mix to your microgreens, you can use a balanced liquid fertilizer specifically formulated for hydroponic or soilless cultivation. Follow the instructions on the fertilizer package to determine the appropriate dilution rate and frequency of application. Alternatively, you can opt for organic options such as compost tea or seaweed extracts.
3. Container: You can grow microgreens in almost any shallow container. This could be a gardening tray, an old baking dish, or even a takeaway container. Just make sure it has drainage holes.

4. Light Source: Microgreens need plenty of light to grow. A sunny windowsill can work, but for the best results, consider using a grow light.

5. Watering Can: A watering can with a fine rose is ideal for watering your microgreens. This will ensure they get a gentle watering without disturbing the seeds.

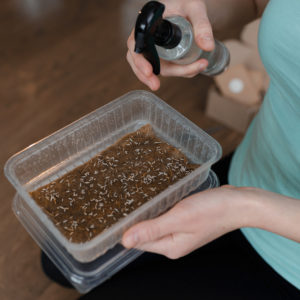
6. Spray Bottle: A spray bottle is useful for keeping the growing medium moist during the germination phase.

With these supplies in hand, you’re ready to start growing your own microgreens! In the next section, we’ll walk you through the process step by step.
Step-by-Step Guide to Growing Microgreens
Growing microgreens at home is a simple and rewarding process. Here’s a step-by-step guide to help you get started:
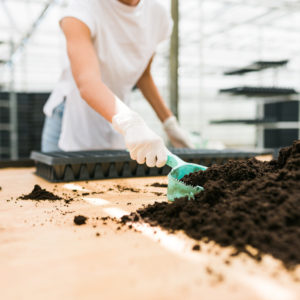
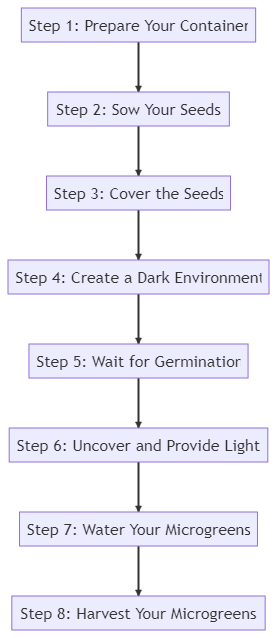
1. Prepare Your Container:
Start by filling your container with your chosen growing medium. It should be about 1-2 inches deep. Make sure the surface is even.
2. Sow Your Seeds:
Sprinkle your microgreen seeds evenly across the surface of the growing medium. You want a fairly dense covering, as microgreens are typically grown close together.
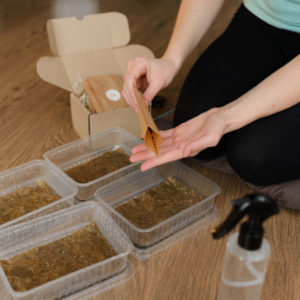
3. Mist the Seeds:
Lightly press the seeds into the growing medium, but don’t completely bury them. Then, mist the seeds with water using your spray bottle.
4. Create a Dark Environment:
To mimic the natural process of germination that happens underground, cover your container with a second tray or a piece of cardboard. This will also help keep the environment humid.

5. Wait for Germination:
This is the hard part — waiting! Keep the growing medium moist by misting it with water once or twice a day. Depending on the type of microgreen, germination can take anywhere from 1-7 days.

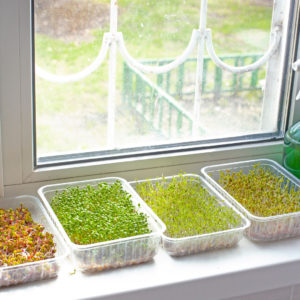
6. Uncover and Provide Light:
Once your seeds have sprouted and pushed up the cover, it’s time to remove the cover and expose them to light. Place your container in a sunny location or under a grow light.
7. Water Your Microgreens:
Now that your microgreens are growing, they’ll need regular watering. Use your watering can to gently water them, being careful not to overwater.

8. Harvest Your Microgreens:
When your microgreens have developed their first set of true leaves, they’re ready to harvest! This usually takes 1-2 weeks. To harvest, simply cut the microgreens just above the soil line.

Step by Step Recap:
And there you have it — fresh, nutritious microgreens grown right in your own home! In the next section, we’ll discuss some common problems you might encounter when growing microgreens and how to solve them.
Common Problems and Solutions When Growing Microgreens
While growing microgreens is generally straightforward, you may encounter a few common problems. Here’s how to identify and solve them:
Common Problems:
1. Poor Germination
- Solution: This could be due to a number of factors, including old seeds, incorrect temperature, or insufficient water. Make sure you’re using fresh seeds, keep your growing environment at a temperature of 60-70°F, and keep the growing medium consistently moist.
2. Mold Growth
- Solution: Mold is often a result of overwatering, poor ventilation, or high humidity. To prevent mold, water less frequently, increase air circulation around your microgreens, and consider using a fan to reduce humidity.
3. Leggy and Pale Microgreens
- Solution: This is usually a sign of insufficient light. Move your microgreens to a sunnier location or consider using a grow light.
4. Microgreens Falling Over
- Solution: If your microgreens are falling over and not standing up straight, they may be overcrowded. Next time, try sowing your seeds less densely.
5. Slow Growth
- Solution: Slow growth can be caused by low temperatures or insufficient light. Try moving your microgreens to a warmer location or providing more light.
Remember, every problem is an opportunity to learn and improve. Don’t be discouraged if your first batch of microgreens doesn’t turn out perfectly. With a little practice and troubleshooting, you’ll be a microgreen-growing expert in no time!
Growing Microgreens: Problem and Solutions Chart
| Problem | Solution |
|---|---|
| Slow germination | Ensure proper moisture levels by misting the seeds or using a humidity dome. |
| Uneven growth | Ensure even distribution of seeds and maintain consistent light and temperature levels. |
| Mold or fungal growth | Improve air circulation, avoid over-watering, and ensure proper drainage. |
| Leggy or weak seedlings | Increase light intensity, provide adequate air circulation, and adjust watering. |
| Yellowing or pale leaves | Adjust light exposure, ensure proper nutrient levels, and avoid over-watering. |
| Pests or insects | Use organic pest control methods, such as neem oil or insecticidal soap. |
| Nutrient deficiencies | Adjust fertilizer application and consider using a balanced nutrient solution. |
| Overcrowding | Thin out crowded seedlings to allow for proper air circulation and growth. |
| pH imbalance | Test and adjust the pH of the growing medium to the appropriate range. |
| Seed quality issues | Use fresh, high-quality seeds from reputable sources and follow proper storage methods. |
In the next section, we’ll discuss how to use your freshly harvested microgreens.
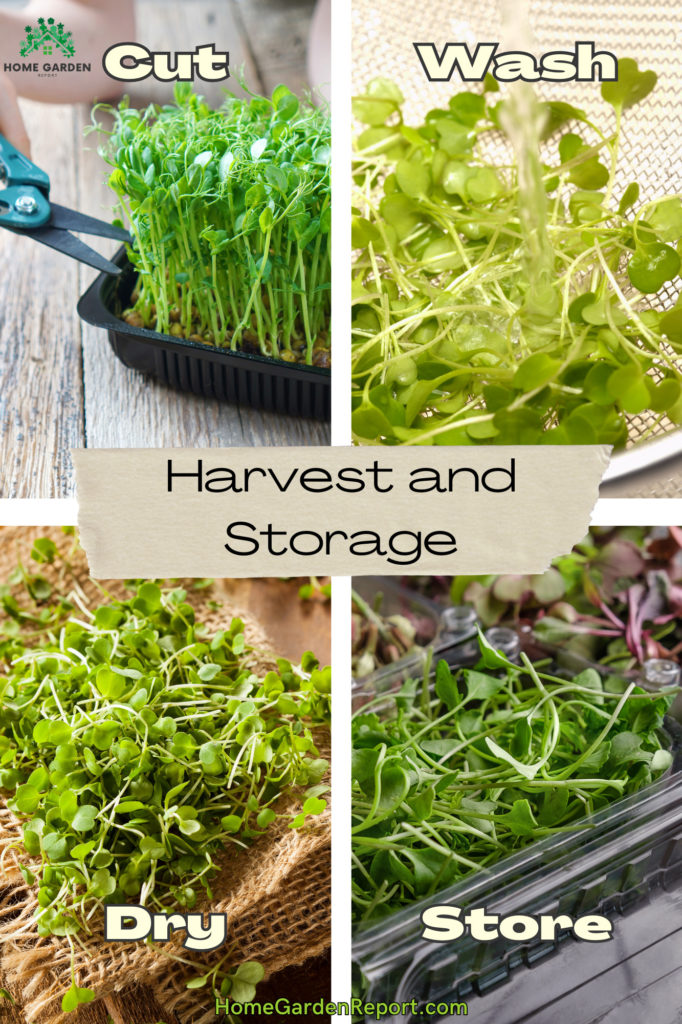
How to Harvest and Store Microgreens
Once your microgreens have grown their first set of true leaves, they’re ready to be harvested and enjoyed. Here’s how to do it:
1. Harvesting: To harvest your microgreens, simply cut them just above the soil line using a pair of clean scissors. It’s best to do this just before you plan to eat them, as they are most flavorful and nutritious immediately after being harvested.
2. Washing: After harvesting, gently wash your microgreens under cool water to remove any soil particles. Be careful not to damage the delicate leaves and stems.
3. Drying: Pat your microgreens dry with a clean towel, or use a salad spinner to remove excess water. It’s important to get them as dry as possible before storing to prevent spoilage.
4. Storing: Store your microgreens in a sealed container in the refrigerator. They’re best used within a week, but can last up to two weeks if stored properly.
Remember, microgreens are delicate and should be handled with care to maintain their flavor and nutritional value. In the next section, we’ll explore some delicious ways to use your freshly harvested microgreens.
Incorporating Microgreens into Your Diet
Microgreens are not only nutritious but also incredibly versatile. Their vibrant colors, unique textures, and intense flavors make them a great addition to a variety of dishes. Here are some ways to incorporate microgreens into your diet:
1. Salads:
Microgreens can add a burst of flavor and color to salads. Try mixing different types of microgreens for a varied flavor profile.
2. Sandwiches and Wraps:
Add a handful of microgreens to your sandwiches or wraps for an extra crunch and a boost of nutrients.
3. Smoothies:
For a nutrient-packed smoothie, blend microgreens with your favorite fruits and vegetables. They add a fresh, green flavor that pairs well with sweet fruits.
4. Garnish:
Use microgreens as a garnish to add a touch of elegance to any dish. They’re perfect for topping soups, pasta, and even desserts.
5. Stir-Fries:
Add microgreens to your stir-fries at the last minute. This way, they’ll retain their texture and flavor.
6. Egg Dishes:
Sprinkle microgreens over scrambled eggs, omelets, or frittatas for a fresh twist.
A Few Quick and Easy Recipe Ideas
1. Microgreen Pesto:
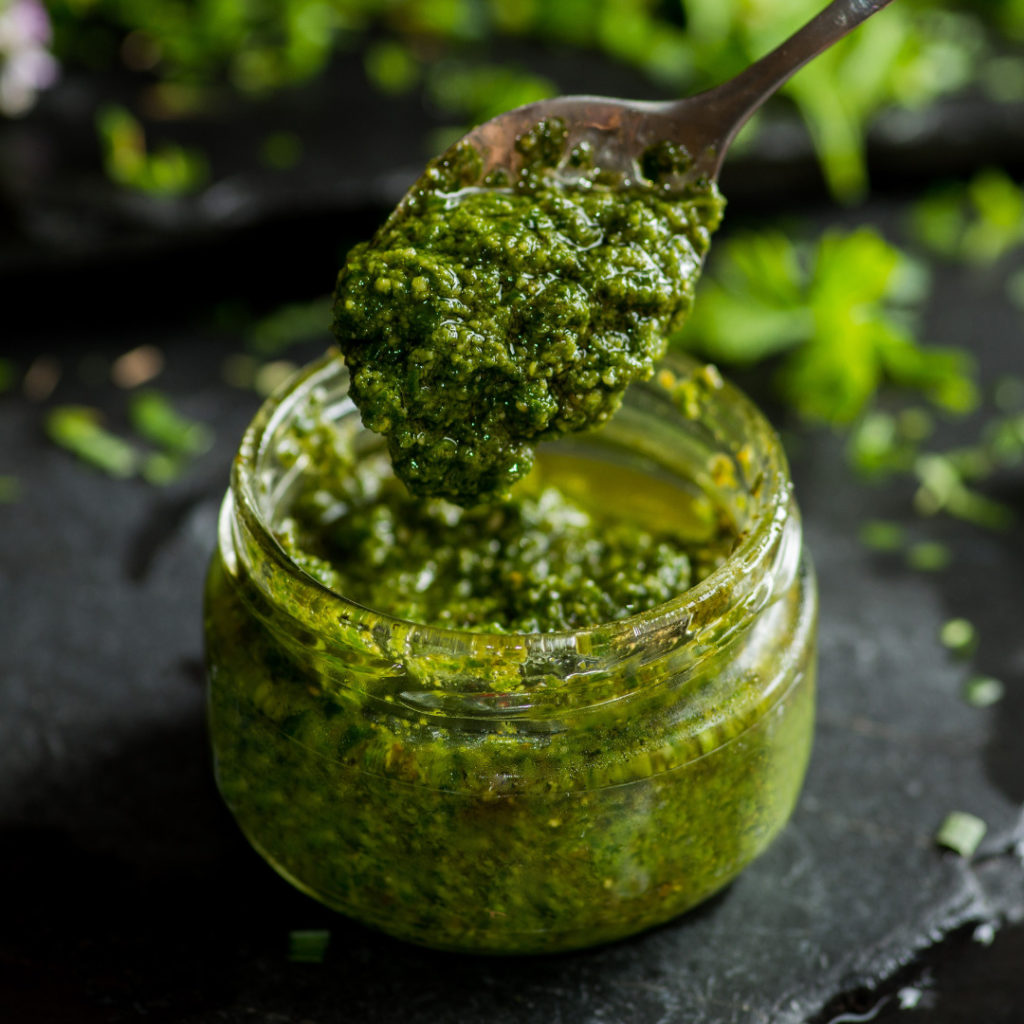
Ingredients:
2 cups of basil microgreens, 1/2 cup of pine nuts, 1/2 cup of Parmesan cheese, 2 garlic cloves, 1/2 cup of olive oil, salt, and pepper.
Instructions:
Blend all ingredients in a food processor until smooth. Use as a pasta sauce, sandwich spread, or a dip.
2. Microgreen Salad:
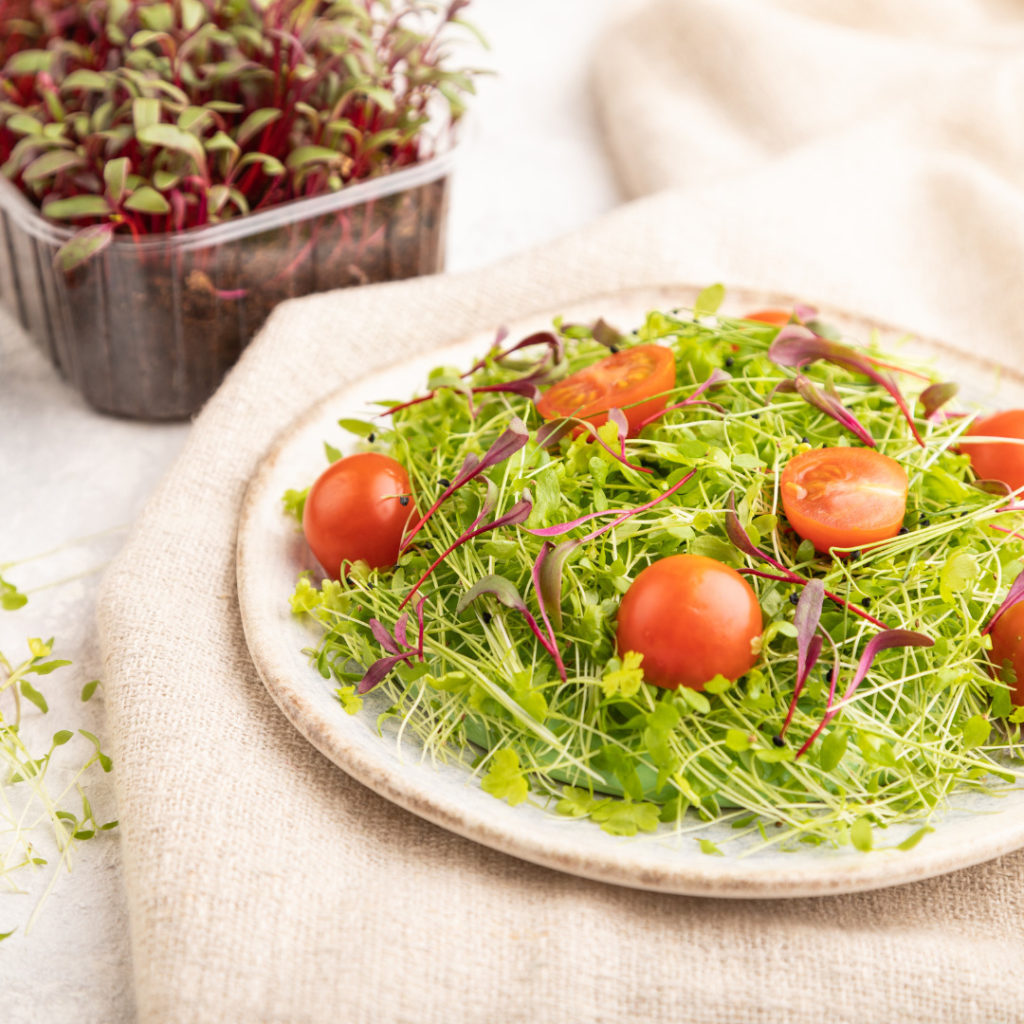
Ingredients:
4 cups of mixed microgreens, 1/2 cup of cherry tomatoes, 1/4 cup of sliced almonds, your favorite salad dressing.
Instructions:
Toss all ingredients together in a large bowl. Serve immediately.
3. Microgreen Smoothie:

Ingredients:
1 cup of kale microgreens, 1 banana, 1/2 cup of blueberries, 1 cup of almond milk.
Instructions:
Blend all ingredients until smooth. Enjoy as a nutrient-packed breakfast or snack.
4. Microgreen Omelet:
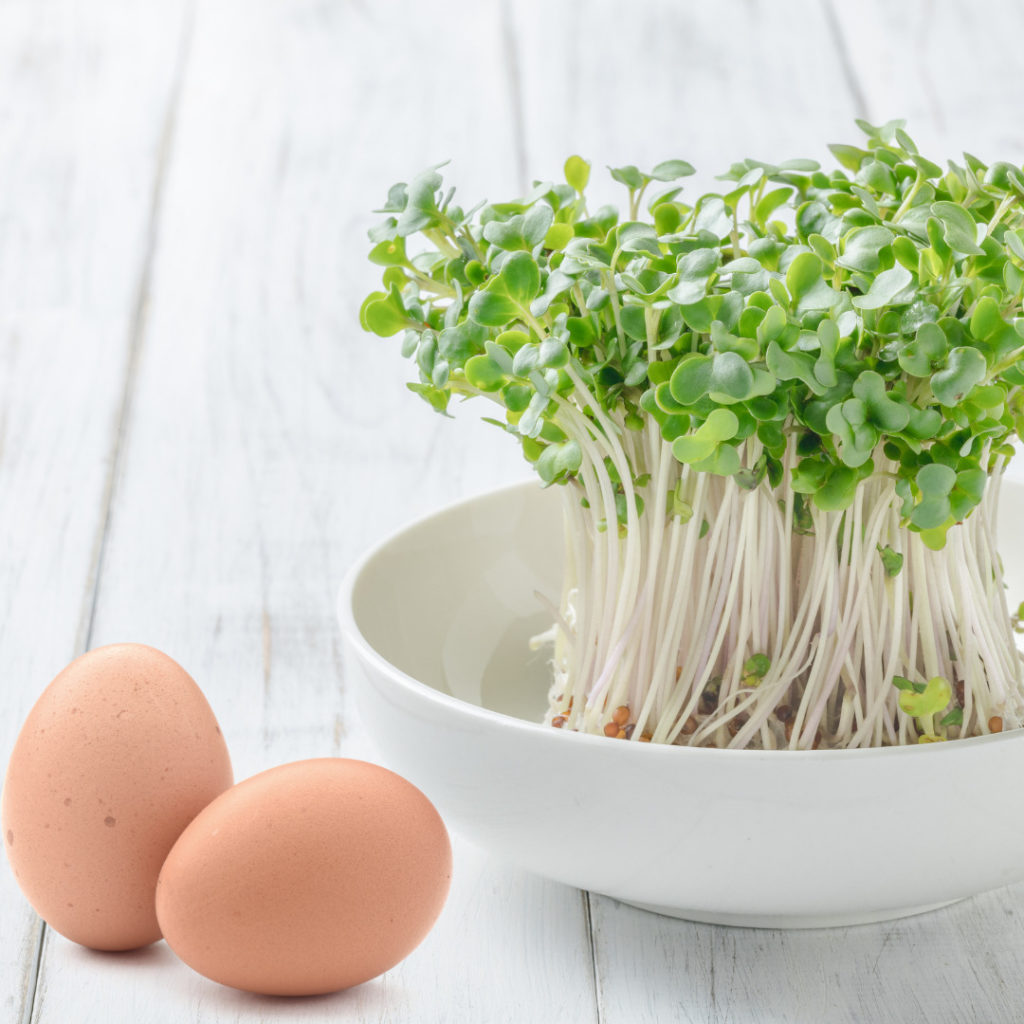
Ingredients:
2 eggs, 1/4 cup of cheese, 1/2 cup of broccoli microgreens, salt, and pepper.
Instructions:
Beat the eggs and pour them into a heated pan. Add the cheese and microgreens, then fold the omelet in half. Cook until the eggs are set.
These recipes are just a starting point. Feel free to experiment with different types of microgreens and other ingredients to find your favorite combinations.
Remember, the key to enjoying microgreens is to experiment. Don’t be afraid to try them in different dishes and discover your favorite combinations. In the next section, we’ll wrap up with some final thoughts on growing and enjoying microgreens.
Conclusion
Growing your own microgreens is a rewarding and enjoyable process. Not only do they add a burst of flavor and color to your meals, but they also pack a nutritional punch. Whether you’re a seasoned gardener or a complete beginner, growing microgreens is an easy and quick way to bring fresh produce right into your kitchen.
Remember, the key to successful microgreen gardening is experimentation. Try growing different types of microgreens, adjust your care routine as needed, and don’t be afraid to get creative with how you use them in your meals. With a little patience and care, you’ll soon have a flourishing microgreen garden to be proud of.
We hope this guide has inspired you to start your own microgreen garden. Happy growing!


